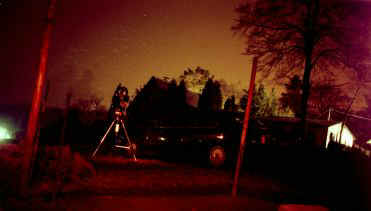
.My first nightly
excursion to a nearby meadow did not look good.
There had to be something done about the reflected light. I
needed
help with the sky situation.The street lights and their
reflections on
the house walls needed to be shielded. |
|
|
|
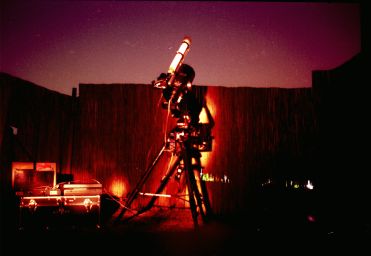
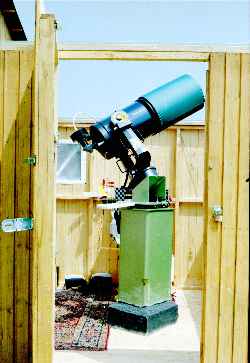
This is how it looked afterwords, behind a rush
mat, fixed to four
posts. I set the telescope with all its CCD gimmicks included by
the
ST-4 auto guider. Only too often I had to tear it down one or
two
hours later, due to clouds rolling in and threat of rain, .
The little white square to the left gave me
access to the 12 volt power
supply of my car parked behind the
mat wall. |
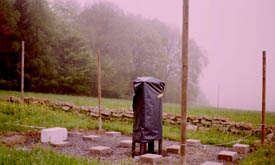
After the wind had blown the shelter down
numerous times this phase
had to be terminated. Plans were drawn. Old astro- magazines and
the do-it-yourself stores were checked. After all research, my
own idea seemed the best and least expensive. Some earth
removal had to be done. The father of a generous friend found
some large iron tubes in his junk pile. From the iron tubes I
made the foundation pier. In this picture the pier is still
covered with some plastic bags. Placing the building on 30 x 30
cm stone plates enabled me to remove the observatory-lodge in
case of problems with the building authorities. My project had
to be portable, because the ground has no construction permit. |
|
|
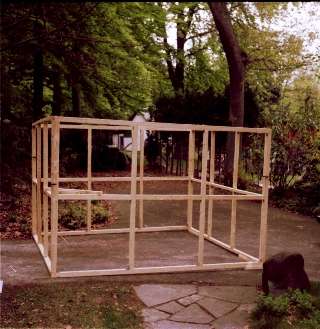 |
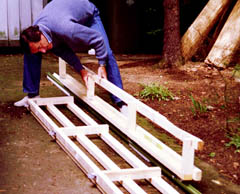
I wanted to use 4 by 6 cm roofing rafters so in case I made
a bad
cut on the rafters I did not want it to be a financial
disaster. I must
tell you, I have never done a project like this
before.
All the parts were first assembled and screwed together at
home. I
wanted to make sure all the parts fit well together and
make sure the
"star-lodge" would be large enough for me and the
telescope. The
total room size should be 3 x 3
m. square.
|
|
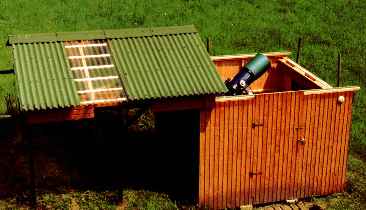
The roll-away roof was designed to roll in "U" shaped rails. I used
hollow furniture rollers for the wheels. I now know this was not a
good idea. These wheels are inexpensive but do not stand freezing
weather. The material becomes very inflexible and fragile and
breaks when it freezes. Solid material wheels, which I now use, are
freeze proof and work much better.
I also learned snow in the "U" shaped rails will melt during the day
and freeze the wheels in place at night! A better solution is to use
grooved wheel on an up-side down "L" shaped profile. |
 |
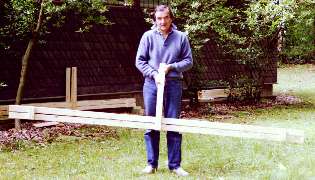 |
"KISS" technique----"Keep It Simple Stupid" This will
become the support for the roof. On my drawings I could
never create the angle of my roof slope. I finally did it the
KISS
way, put the
construction on the floor and by placing two rafters left and
right I
could measure the dimensions without asking Mr. Pythagoras.
|
|
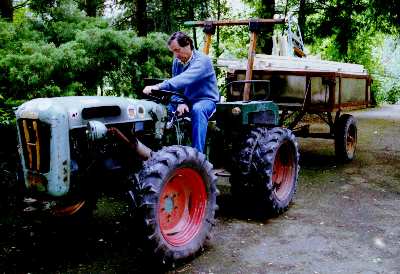
Vamos trabalhar !
Everything is prefabricated and loaded, the weather is
dry and today
the "star-lodge" is ready to transport and assemble on site.
|
|
|
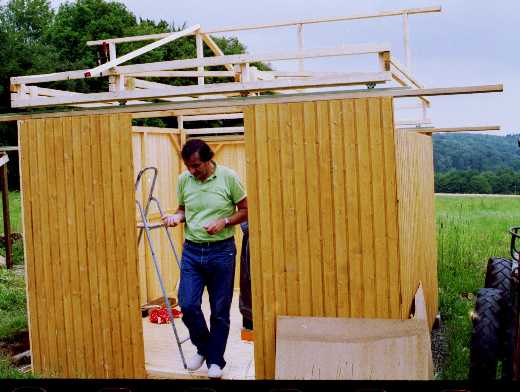 |
Thanks to the prefabrication and cordless screwdriver
everything went
well and quickly. The greatest moment
was when the rolling-roof
construction, only held together
by clamps, was rolling free without
binding!
|
|
Lunch hour
(or was it coffee break?) with my loyal
friends and
companions "Biene" and "Schöckel",
anyway, now the rain can begin!
|
 |
|
 |
For now, "saude, amor e escudos"! |
|
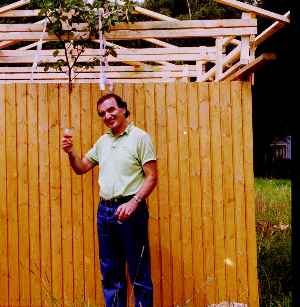
Welcome ! |
 |
|
 |
| |
|
| |
|
| |
|
| |
|
| |
|
| |
|
| |
|
| |
|
| |
|
| |
|
| |
|
| |
|
| |
|
